HP Clock

Tuesday, February 21, 2012

Testing Miniature Pentodes with the Tek 575

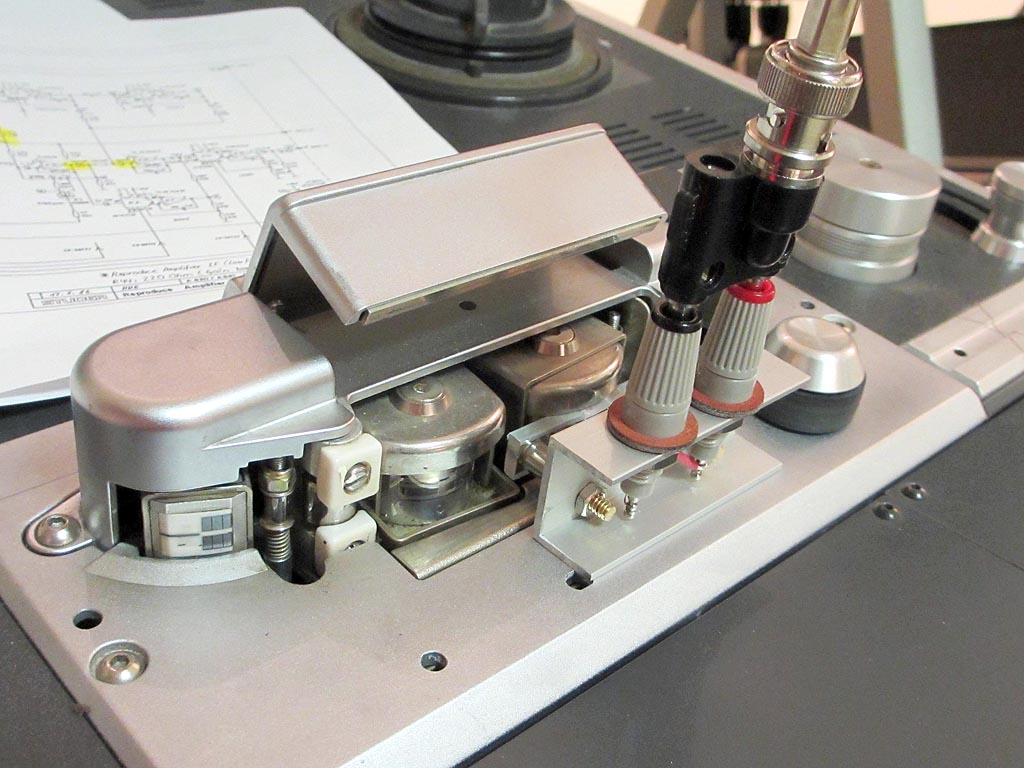
This post is a follow on to my January 6th post “Testing Dual Triodes with the Tek 575”.  With the great success of my dual triode test fixture making it possible to go through boxes of tubes I decided to take on making a fixture for the 6AU6 which is the next most common tube I encounter in much of the antique test equipment that I restore or repair.  The 6AU6 is a miniature pentode and as such would require a screen grid supply of about 100 volts to test properly.  I was torn between making a small switcher and just using back-to-back filament transformers.  This was incentive enough for me to create a breadboard to test out the concept and to see what the volume would be of the components being used.  Here is a picture of the breadboard under test.  The bench supply is for the added digital meter used to monitor the screen grid supply.

Once I was satisfied with the design and the performance I shoehorned it all into the same SERPAC A-42 enclosure that I had used to package the dual triode tester.  As you can see there was a lot more to fit inside, including the screen grid supply, 5 volt supply for the meter, and the meter.  I also found it necessary to add ferrite beads to the wires coming from the Tek 575.

Here is the completed unit ready to go.  As with the previous test fixture power is supplied through a standard IEC power cord.  It’s also worth noting that I added a second 7-pin socket that allows me to switch between two tubes for the purpose of matching.

This is a picture of the pentode test fixture in use. 

Here you can see that the results are quite nice and comparable to the data in the RCA tube manual.  This picture was taken with a modified C-12 camera mount described in an earlier post on this blog.

I was also pleased to discover that just like the dual triodes there is a large list of miniature pentodes that have the same or similar pinouts that can all be used with this fixture.  I’ll add the list at the end of the documentation for this project just as I did for the dual triode fixture.  It will most likely be posted on the Tek Scopes forum;


As usual if you decide to try this on your own I offer the following disclaimer:

Some of the circuits described on this site use or generate potentially lethal electric currents and voltages, and if not treated with care, respect and intelligence, they can result in fatal injury. If you use the information on this site to kill yourself, your friends, family members, acquaintances, total strangers, pets, electronic devices or burn down your house, it is not my problem.  That said, have fun!

Wednesday, February 15, 2012

How Many Bits Can You Use?


I have often wondered at what point the digital conversion process for audio reaches a point of demensishing returns, or at least unrealized expectations in the performance of the converters.  We live in a noisey world, and even before digital audio noise in electronics has always been with us and has always been the enemy of dynamic range.  Noises generated internally in electronic circuits are produced mostly by molecular activity. The random motion of electrons is directly related to the temperature of the conductors, and components that make up a circuit. That thermal noise generated is well understood and can be expressed in the equation as:
(eq. 1)

K = Boltzman’s constant 1.38 x 10 –23 joules per degree Kelvin
T = absolute temperature in degrees Kelvin
R = equivalent load resistance across which Et is measured
Δf = bandwidth in Hertz

Substituting 293 degrees (room temperature in degrees Kelvin), 20 Khz bandwidth, and an r of 600Ω s Et can be calculated as .22 μvolts. Voltage can be solved for where Dbm is defined as one mili-watt across 600Ω. 


(eq. 2)

Solving this equation for a conversion from volts to DBm gives the equation:
(eq. 3)
Inserting the .22 micro volts gives a noise floor of -130.9 db.  From here the number of bits required to digitize information can be calculated.
(eq. 4)
This works out to 21.8 bits. The digital resolution based on the number of bits can be solved for with the formula:

(eq. 5)

If we could create a converter that defied the laws of physics, and in particular the laws of thermo dynamics, one could expect a 24-bit converter to have a dynamic range of 144 db. Remember, that at 96 kHz sampling the delta f is doubled increasing the noise floor to .311 μvolts or a dynamic range of 127.9 db, which would require 21.3 bits. For a 192 kHz sample rate the bandwidth is about 80 kHz, raising the noise floor to .44 μvolts. Dynamic range is 124.9 db, with 20.8 bits as the theoretical limit.

It’s also important to note that these are calculations based on an ideal noise free environment and do not include any provision for shot noise. Like thermal noise, shot noise is a function of the electron charge, the magnitude of the current, and the bandwidth of the circuit under test. This noise occurs at boundaries where the conducted electron must cross from one type of material to another. This would include things like Vacuum tubes and solid-state junctions. Shot noise is usually expressed as a current. Even here it can be seen that the addition of bandwidth will increase the noise and reduce the dynamic range.

(eq. 6)
e = The charge of one electron (1.6 x 10 to –19th)
I = The current through the junction in amperes
Δf = bandwidth in Hertz


Realistic Analog Playback

The average analog deck outputs +4 dbm at zero VU. This translates into a voltage of 1.23 volts. Lets assume that there will be peak excursions 16 db above the zero vu setting for a total of 20 db above zero dbm. This would mean a maximum voltage of about 7.75 volts. Now lets imagine an analog tape deck working perfectly with Dolby SR noise reduction such that the signal out has a dynamic range of 85 db. Subtract the 20 db from this figure to arrive at a noise floor of -65 dbm. This would mean the smallest signal one would expect to see would be on the order of 436 μvolts If we accept the 24-bit converter can digitize to a theoretical maximum accuracy of between 20 and 22 bits, then the resolution will be between 7.39 μvolts and 1.85 μvolts.

(eq. 7)
Using the mean of 21 bits for individual transitions of 3.7 μvolts the lowest expected signal could be digitized to within 117.8 discreet values. 

(eq. 8)
The number of bits can be calculated from the number of symbols assuming all symbols are equi-probable from the standard information theory equation for entropy in bits per symbol. 

(eq. 9)

This would give a value of 6.88 bits per symbol at the lowest analog signal level. As a point of comparison the same 436 μvolts signal would be represented by only 3.68 symbols or 1.88 bits with 16 bit digitization.  So where does this leave us?  As you can see anything past 21 bits is past the physical limits of what is achievable by any digital conversion process.  Although some may feel that human perception extends beyond 40 KHz they cannot dispute that added bandwidth can reduce the ability of a digital converter to operate at it's maximum bit depth.  The loss of one bit in bit depth translates into one half of the resolution of that digitizing process.


Friday, February 3, 2012

Building and Using a Flux Loop


It’s always fun to revisit old analog techniques that if not forgotten they are at least not used as much as they should be.  One such trick for me is the use of a flux loop in conjunction with troubleshooting reproduce electronics in analog tape decks.  In this case an anomaly in the phase display of a low frequency tone was noticed.  Two things were wrong.  First, there was a phase discrepancy between the left and right channel of the deck indicated by an opening of the phase display.  Second, the phase display was not an oval, but instead was more of a tear drop shape.  As the playback frequency was increased both problems disappeared.  

Looking at the phase shift and distorted phase plot would most likely suggest a problem in low frequency coupling in the reproduce electronics.  To confirm this I built the simple flux loop seen in this picture out of parts in the junk box.

Essentially a flux loop is a means of generating magnetic flux and applying it to a tape deck head in such a way as to induce a field in the head which closely approximates the field from a moving length of tape. A typical flux loop is simply a few turns of fine wire wound closely together on a non-ferrous rectangular former.  In my case a small piece of Plexiglas filed into the correct shape worked fine.  A 620-ohm resistor in series with this coil was added in an attempt to match the impedance of the HP 200 CD audio oscillator.  Here you can see the flux loop placed in proximity of the playback head of the deck.

With the flux loop in place all one needs to do is simply turn on the deck, place it in playback, and hook up an oscilloscope to the output.  The complete setup, including the oscillator, flux loop, tape deck, and oscilloscope can be seen here.

Here is a block diagram of the test setup.


With this test setup, and a few card swaps the bad reproduce card was quickly identified.  All of this was done without playing back a test tape.  In this picture the distortion is obvious, and likely caused by a bad electrolytic coupling capacitor. 

The next step will be to put the faulty card on an extender, and use the oscilloscope to identify the bad component.