
Pi Arduino Development Station
Having picked up a folding Plexiglas prototyping assembly for a few dollars at the amateur radio swap meet I decided to use it to build a portable Raspberry Pi Arduino prototyping station. I could use the Raspberry Pi 4 to do hardware development directly and with the Raspian Linux operating system I would be able to run the Arduino IDE. The completed system consists of a Raspberry Pi 4, Arduino Uno, ten-inch HDMI display, and a USB receptacle outlet for power.

Fig. 1 Combination Raspberry Pi Arduino Dev Station
Here you can see where I added a prototyping board that includes a GPIO breakout connector for the Raspberry Pi. As with most of my prototyping setups I like to add an aluminum angle bracket to hold some BNC connectors for easy IO and banana jacks with ¾” spacing for connecting external power. I can also add potentiometers as needed.

Fig. 2 Closeup of Prototyping Section
Here is a view of the banana jacks used for connecting external power supplies. You can also see how easy it is to either probe or inject signals with the BNC connectors.
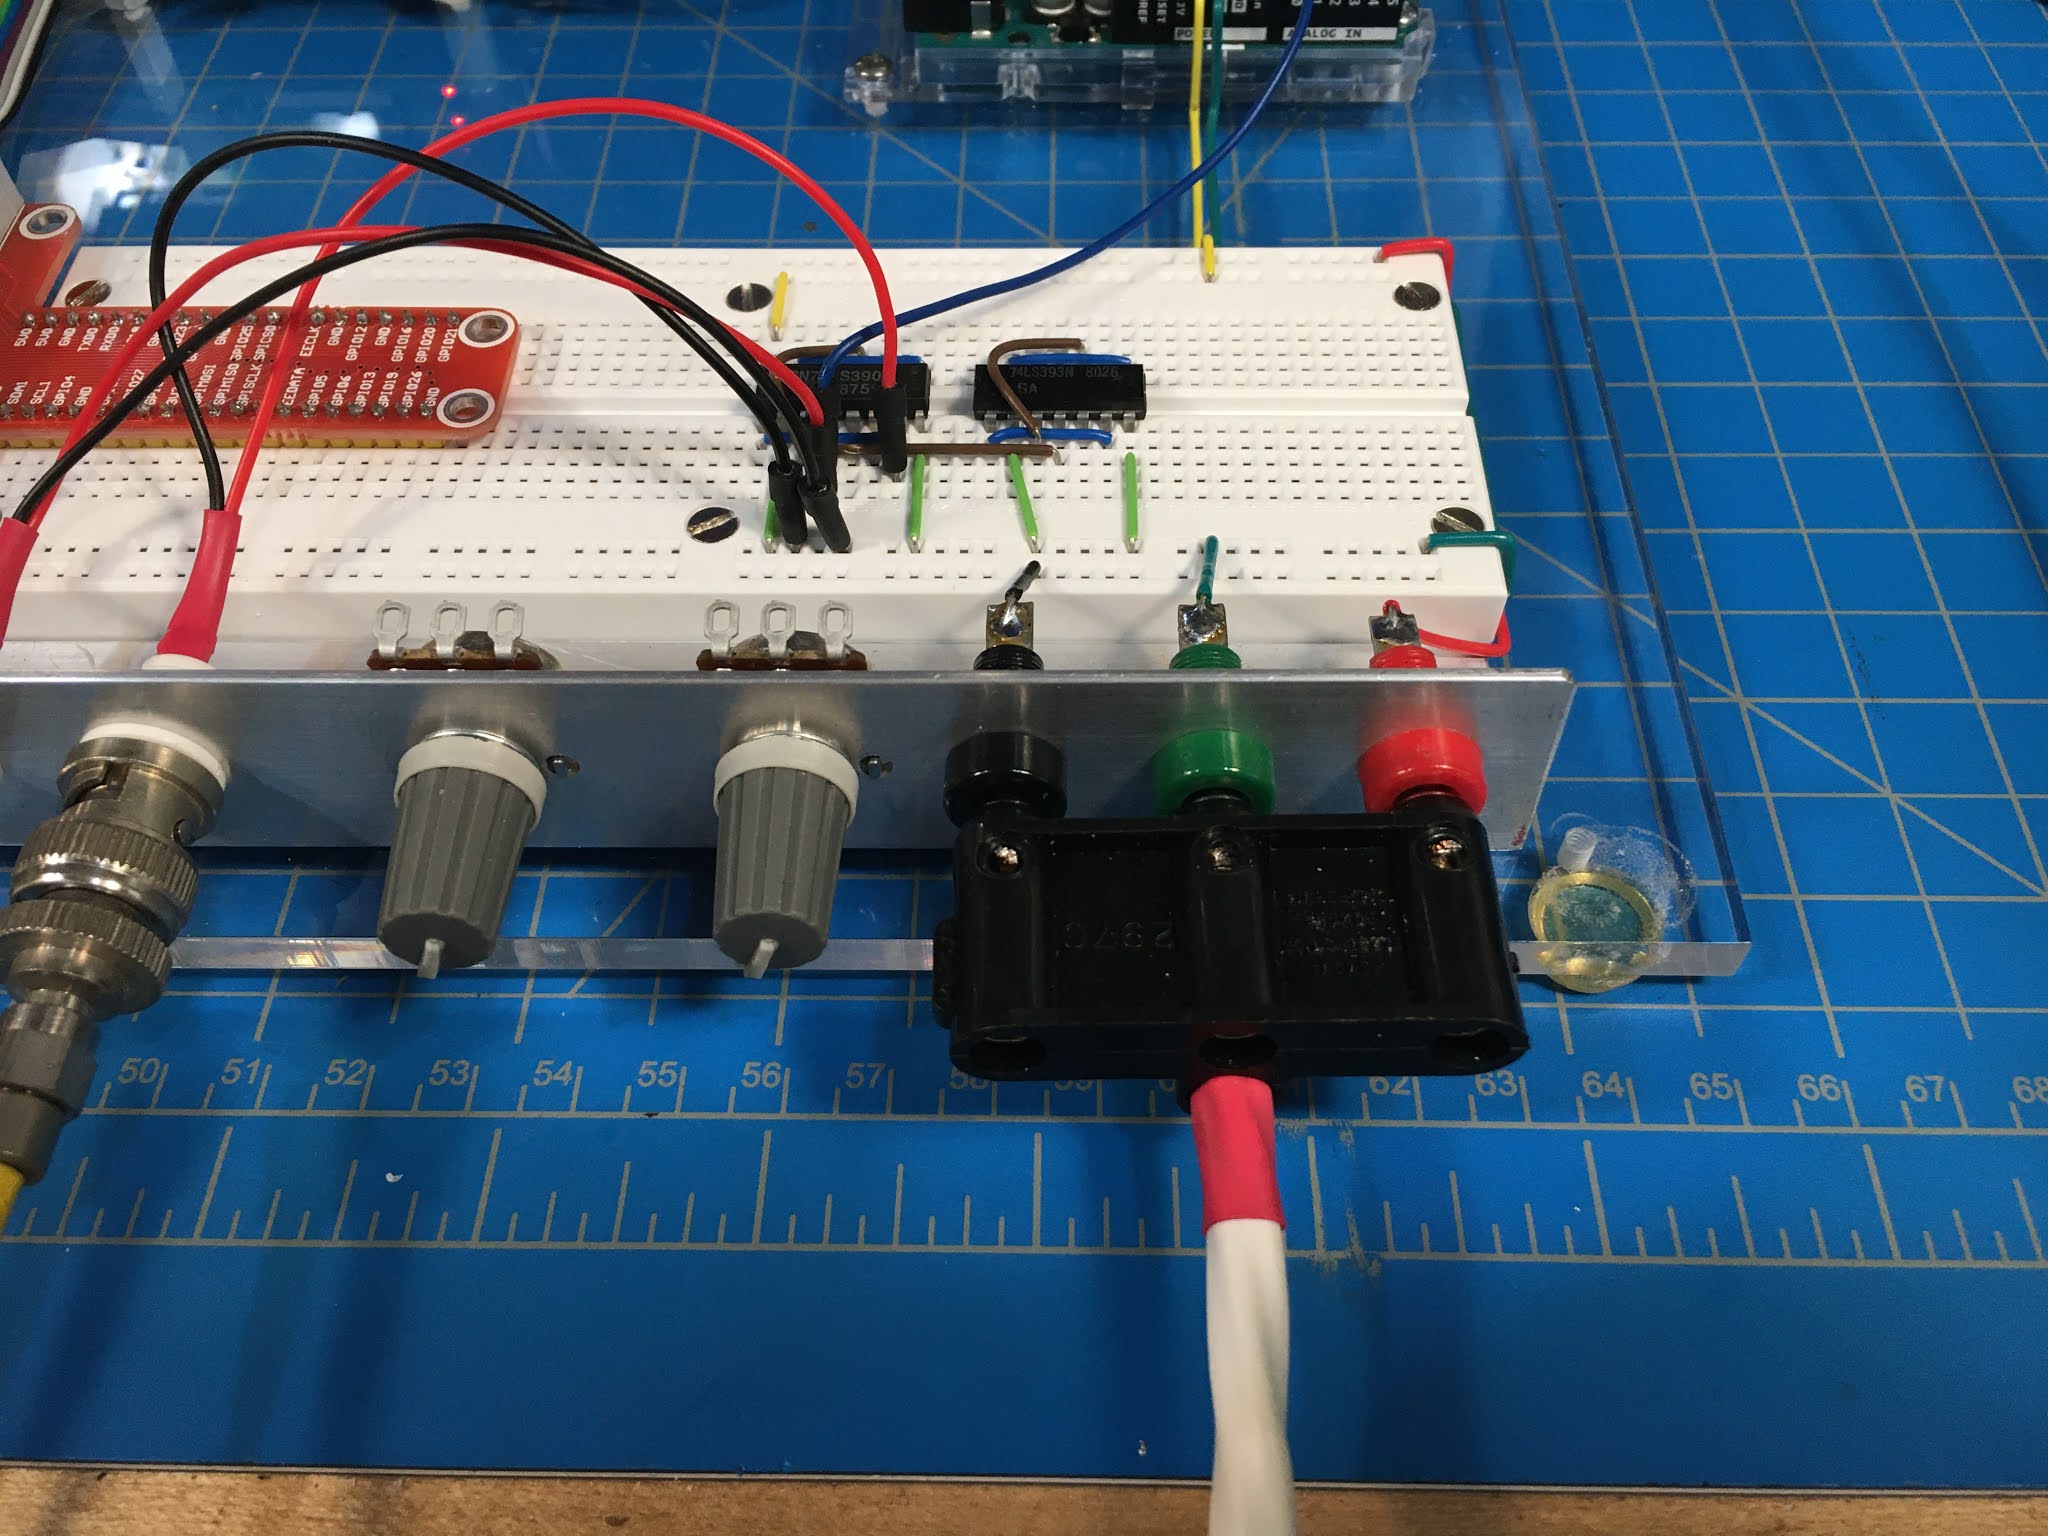
Fig. 3 Banana Jack Power Connections
The USB receptacle outlet provides plenty of power for the Raspberry Pi, Arduino and HDMI display. The exposed connector on the top is neutral, however it has since been covered as well.
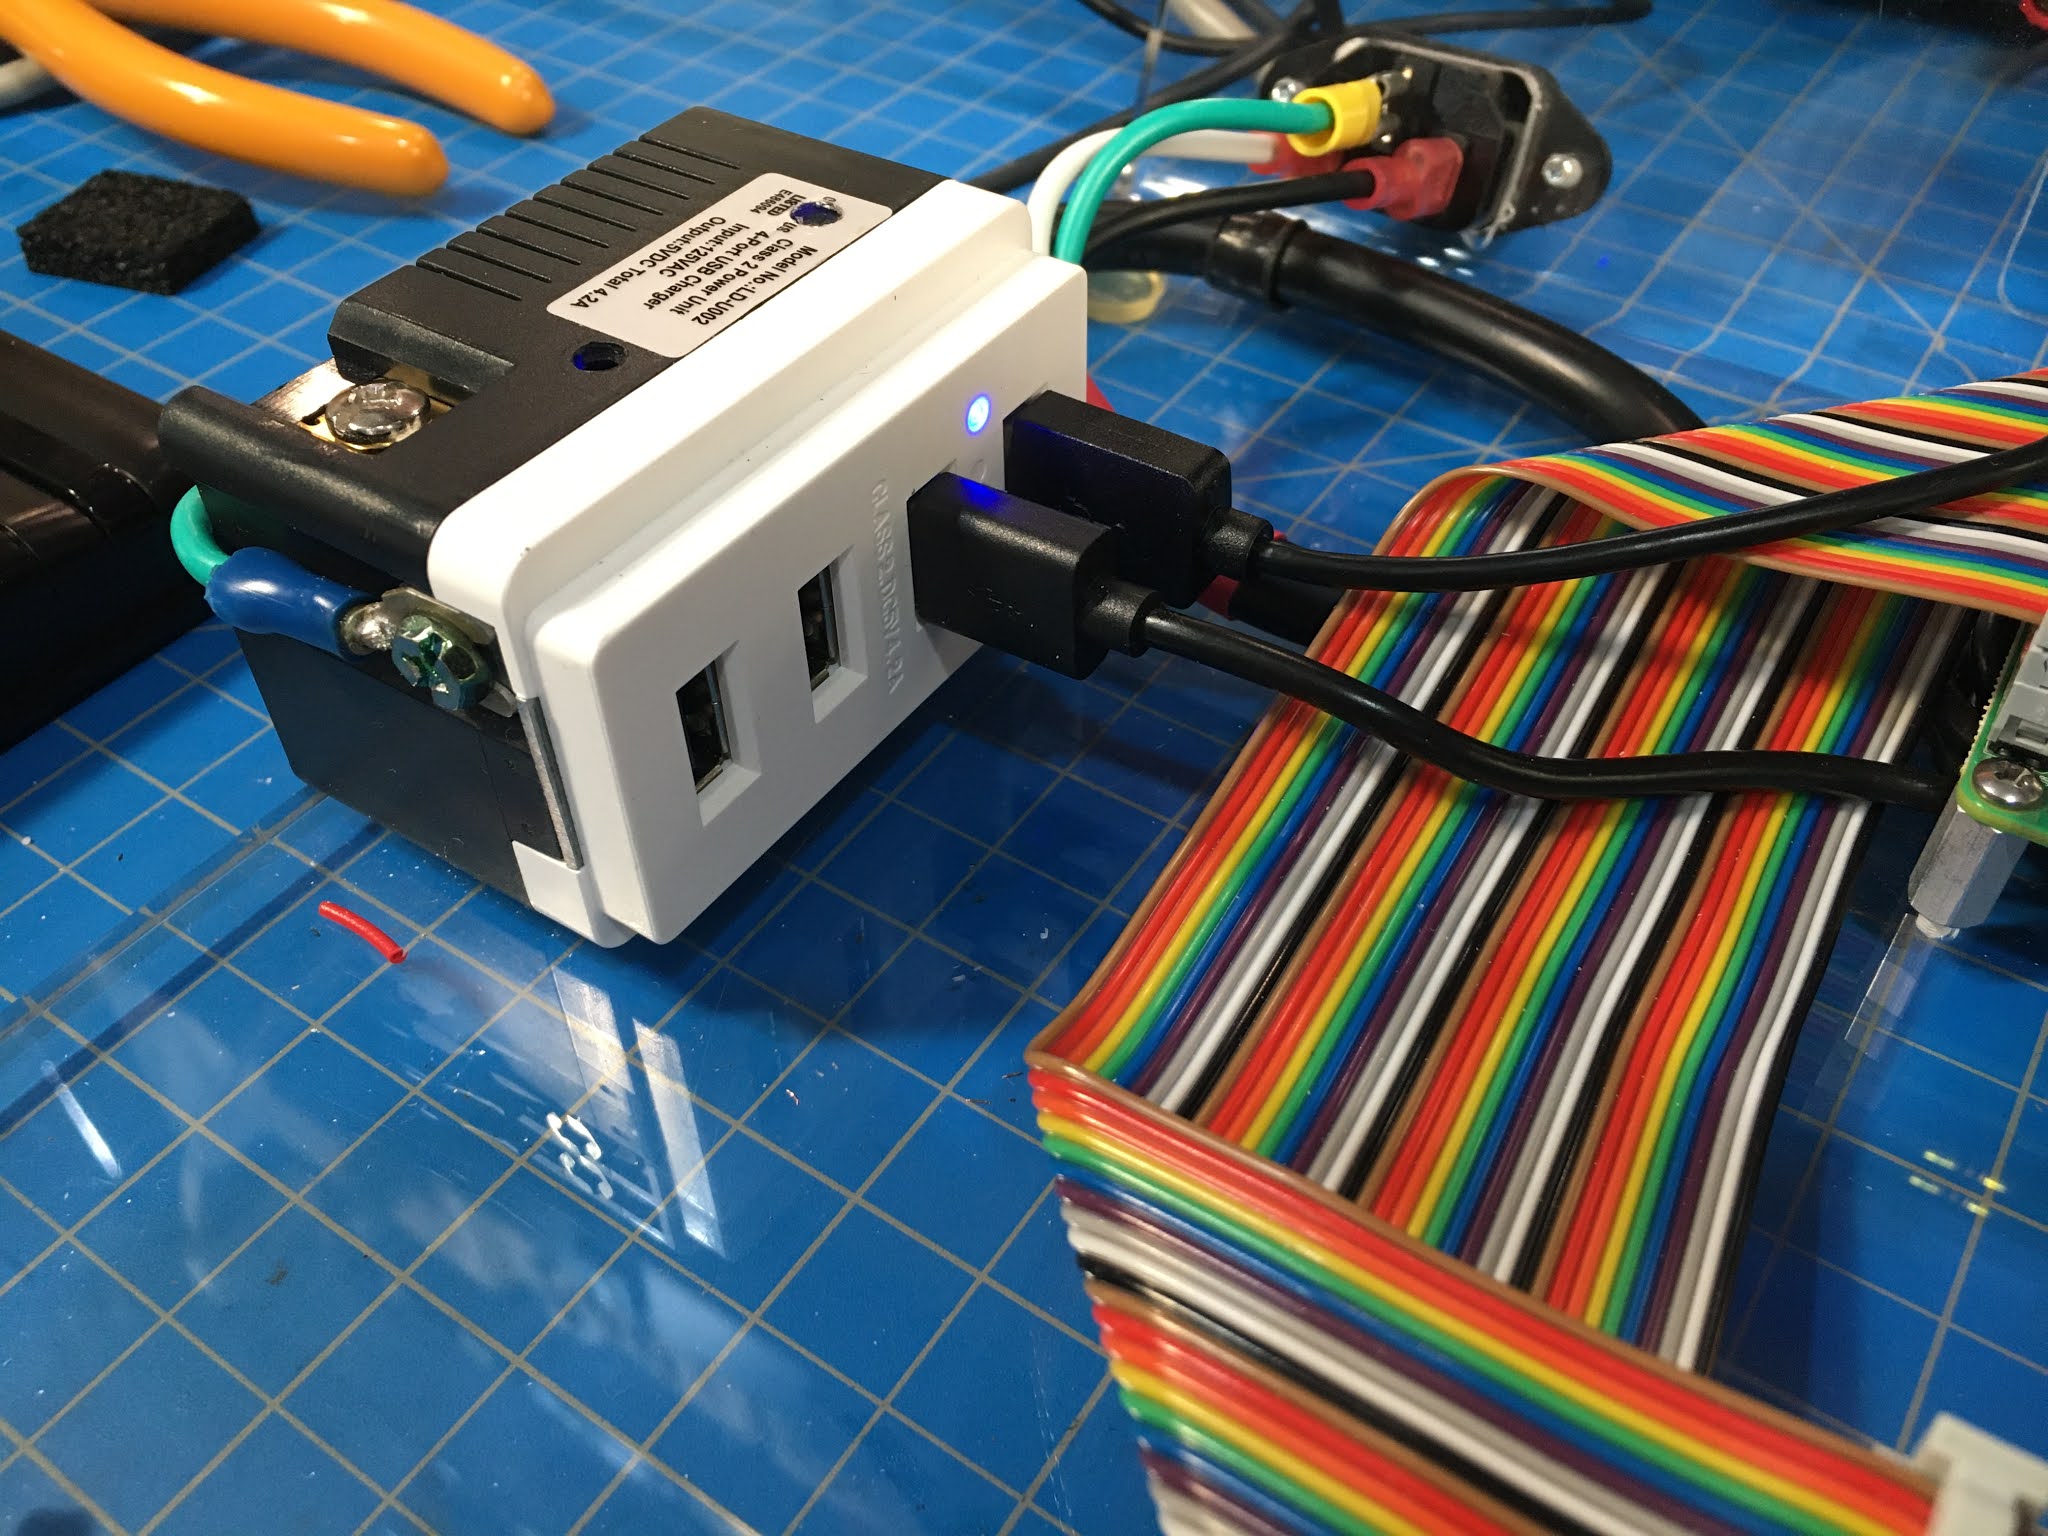
Fig. 4 Modified USB receptacle
Here is where the completed project comes together where the Arduino is driving and reading an arrangement of gates and counters in a simple ‘Hello World” test.

Fig. 5 Development Assembly Running
Here is a picture of the development assembly folded up and ready for travel.

Fig. 6 Folded up for Travel